
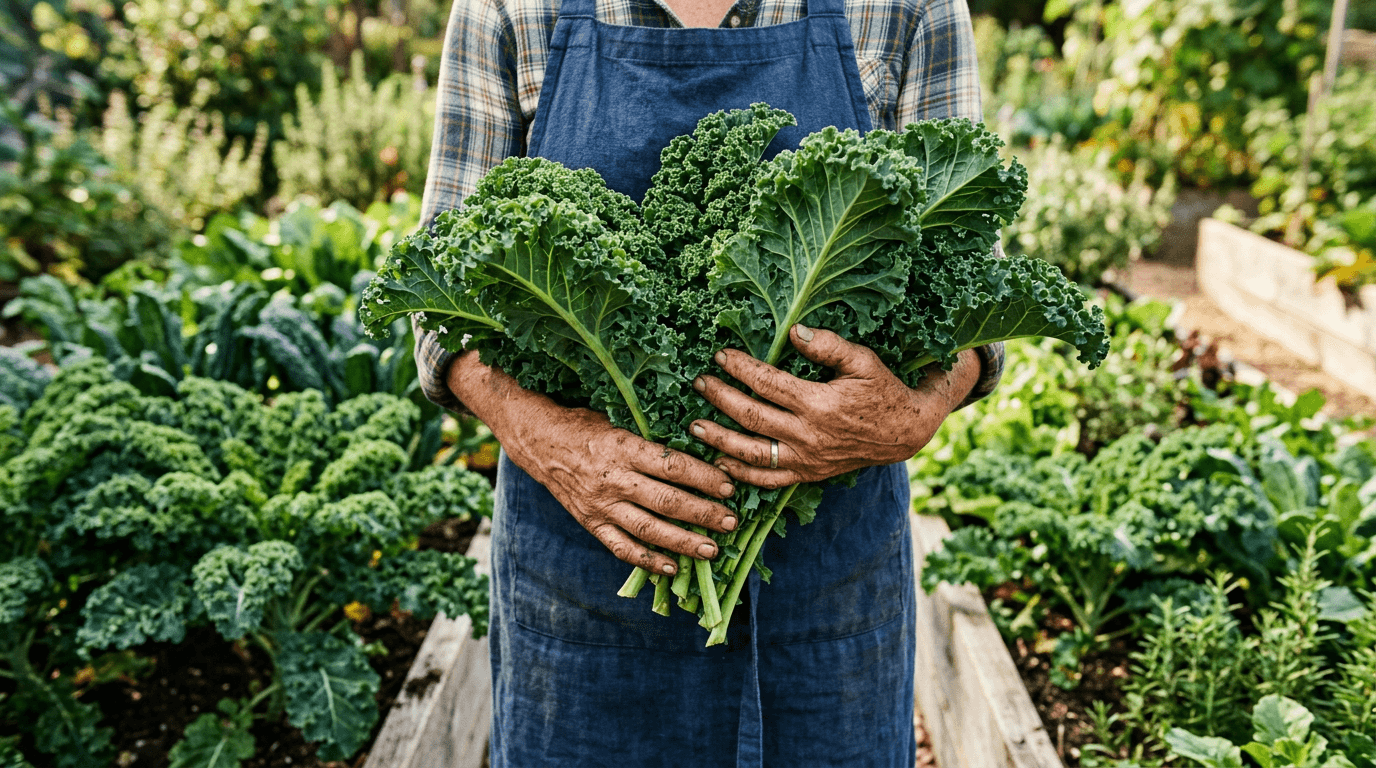
Kale has earned its reputation as one of the toughest, most forgiving vegetables you can grow. It shrugs off light frost, keeps producing through cool fall weather, and rewards even a beginner gardener with weeks of continuous harvests from just a few plants.
Better yet, kale actually tastes better after a touch of cold weather — frost converts starches into sugars, mellowing out its naturally hearty, slightly bitter flavor. Here’s everything you need to grow it successfully, from seed to harvest.
Choose the Right Kale Variety
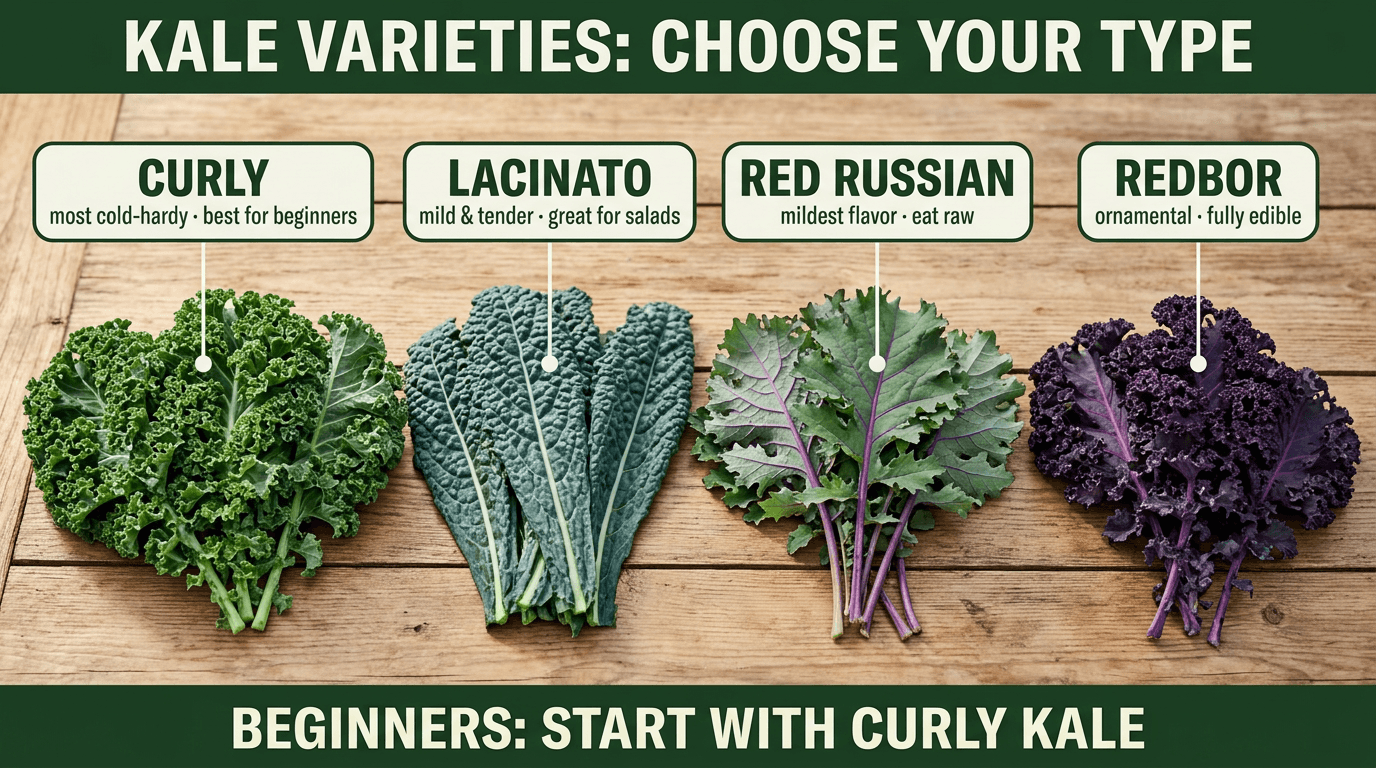
All kale varieties are cold-hardy and nutrient-dense, but they differ in leaf texture, flavor, and appearance:
Curly Kale — The most common variety, with tightly ruffled, deep green leaves. Slightly peppery flavor that mellows when cooked. Widely available and very cold-hardy.
Lacinato (Dinosaur/Tuscan Kale) — Long, narrow, dark blue-green leaves with a bumpy, savoyed texture. Milder and more tender than curly kale. A favorite for salads since the leaves are less fibrous.
Red Russian — Flat, frilly-edged leaves with striking purple-red stems and veins. The mildest and most tender variety, excellent for eating raw. Slightly less cold-hardy than curly types, but still handles frost well.
Redbor — An ornamental-looking variety with deep purple, tightly curled leaves. Beautiful in the garden and just as edible as green varieties — a great pick if you want kale that doubles as a landscaping accent.
Best bet for most home gardeners: Curly kale is the easiest to find and the most forgiving for beginners. If you want something more tender for salads, try Lacinato.
When to Plant Kale
Kale is a cool-season crop that actually prefers cold weather to hot. It grows best when temperatures sit between 40°F and 75°F, and mature plants can survive temperatures down to 20°F — sometimes lower with a bit of protection.
- Spring planting: Direct sow or transplant 3–4 weeks before your last spring frost date
- Fall planting: Sow 6–8 weeks before your first fall frost date for a harvest that stretches into and often through winter in milder zones
- Starting indoors: Start seeds indoors 5–6 weeks before your last frost date, then transplant outside once seedlings have 2–3 true leaves
Kale generally struggles in summer heat above 80°F, developing a bitter flavor and becoming more attractive to pests. In hot-summer regions, plan your kale for spring and fall harvests rather than a continuous summer crop.
Not sure of your frost dates? Check the Find Your Zone guide to look up your USDA hardiness zone.
Preparing the Soil
Kale isn’t picky, but it performs best in rich, well-draining soil with plenty of organic matter.
- Choose a spot with full sun to partial shade — kale tolerates more shade than most vegetables, especially helpful in warmer zones
- Work 2–3 inches of compost into the top 8 inches of soil before planting
- Aim for a soil pH between 6.0 and 7.5
- Ensure good drainage — kale dislikes soggy, waterlogged soil
How to Sow and Transplant Kale
Direct sowing:
- Sow seeds ¼–½ inch deep in prepared soil
- Space seeds 3 inches apart in rows 18–24 inches apart
- Keep soil consistently moist until germination, which takes 5–8 days
- Once seedlings have 2–3 true leaves, thin to 12–18 inches apart
Transplanting seedlings:
- Harden off indoor-started seedlings for 5–7 days before transplanting, gradually exposing them to outdoor conditions
- Plant at the same depth they were growing in their container
- Space transplants 12–18 inches apart in rows 18–24 inches apart
- Water thoroughly right after transplanting to settle the roots
Give kale room to grow. Mature plants can reach 2–3 feet tall and nearly as wide. Crowded plants get less airflow, which increases the risk of fungal disease.
Watering Kale
- Water deeply 1–2 times per week, aiming for about 1–1.5 inches of water weekly (rain plus irrigation)
- Keep soil consistently moist, especially during germination and while seedlings are establishing
- Water at the base of the plant rather than overhead to reduce the risk of fungal leaf disease
- A 2–3 inch layer of mulch around plants helps retain moisture and suppress weeds
Fertilizing Kale
Kale is a leafy green that benefits from consistent nitrogen to fuel steady leaf production, especially since you’ll be harvesting from the same plants repeatedly over weeks or months.
- Work a balanced fertilizer (10-10-10) into the soil before planting
- Side-dress with a nitrogen-rich fertilizer or compost every 3–4 weeks during the growing season
- Fish emulsion or compost tea works well as a gentle, steady nitrogen source for continuous harvest crops like kale
Common Kale Problems
Cabbage worms and cabbage loopers — Green caterpillars that chew large, ragged holes in leaves. Since kale is a brassica, it’s vulnerable to the same pests as cabbage and broccoli. Handpick caterpillars, or cover plants with floating row cover to block egg-laying moths and butterflies. Bacillus thuringiensis (Bt) is an effective organic treatment if infestations get heavy.
Aphids — Small clusters of insects on the undersides of leaves and along stems. Spray off with a strong stream of water, or use insecticidal soap for persistent infestations.
Flea beetles — Tiny black beetles that chew small “shotgun” holes in leaves, mostly a problem for young seedlings. Floating row cover early in the season is the most effective prevention.
Bolting (flowering) — Triggered by prolonged heat or day-length changes in late spring. Once kale bolts, leaves turn bitter and tough. Harvest promptly if you see a flower stalk forming, and plan fall crops if summer bolting is a recurring issue.
Yellowing lower leaves — Usually normal aging as the plant redirects energy to new growth. Simply remove yellowed leaves. If yellowing spreads rapidly, check for overwatering or nitrogen deficiency.
Harvesting Kale
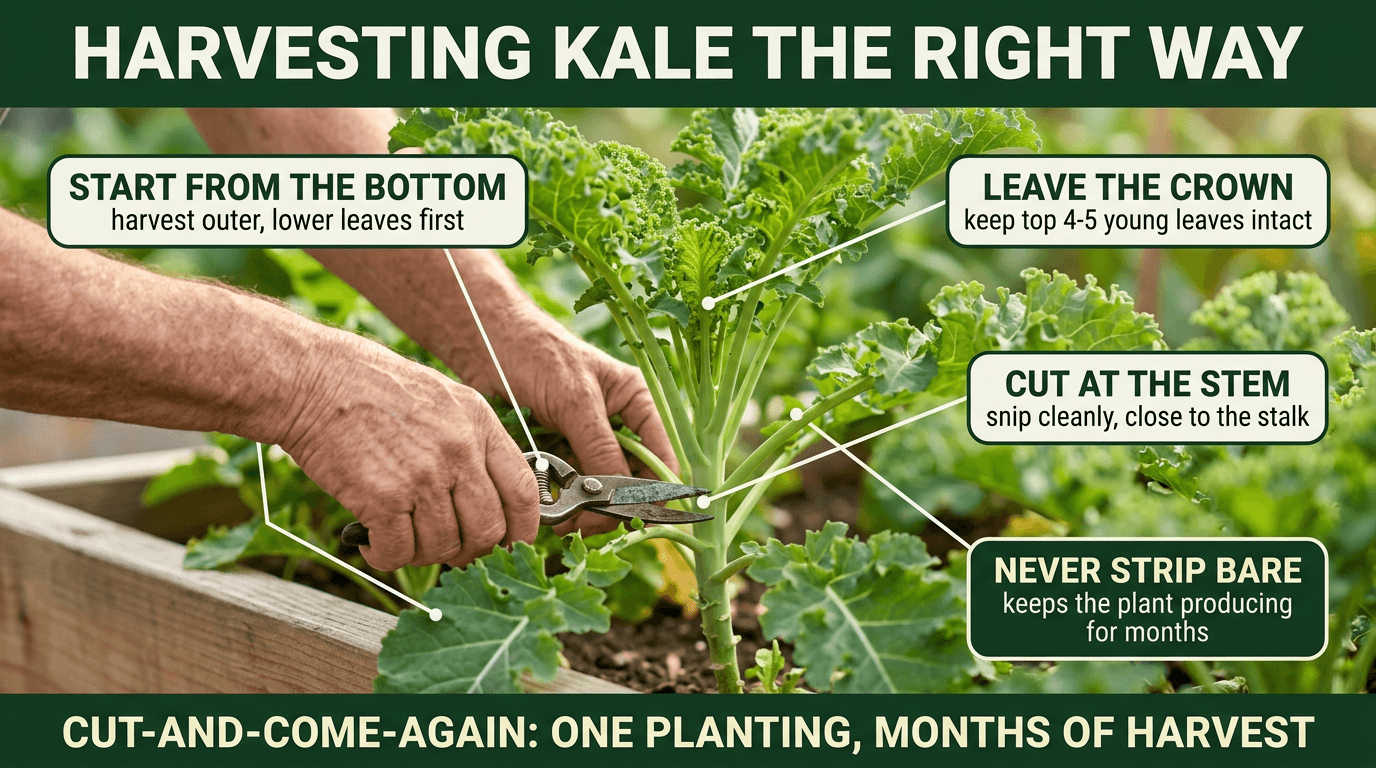
Kale is a cut-and-come-again crop — instead of harvesting the whole plant at once, you pick leaves gradually and the plant keeps producing for weeks or months.
When to start harvesting: Once leaves reach about the size of your hand, roughly 55–70 days after sowing, though baby leaves can be picked earlier for salads.
How to harvest correctly:
- Harvest the outer, lower leaves first, working from the bottom of the plant upward
- Always leave the central crown and the top 4–5 young leaves intact — this is where new growth comes from
- Snap or cut leaves cleanly at the base of the stem, close to the main stalk
- Never strip a plant bare — removing all the leaves at once stops growth and stresses the plant
Harvested this way, a single planting of kale can keep producing for months — often from spring all the way through a light frost, and sometimes into winter in milder zones.
Frost sweetens the flavor. Don’t rush to harvest everything before the first frost. A light frost (down to about 25°F) actually improves kale’s flavor, converting starches to sugars and mellowing its natural bitterness. Many gardeners consider post-frost kale the best of the season.
Storing Your Harvest
- Refrigerator: Store unwashed leaves in a loose plastic bag or wrapped in a slightly damp paper towel in the crisper drawer. Keeps well for 1–2 weeks.
- Washing tip: Wash just before using, not before storing — excess moisture speeds up spoilage.
- Freezer: Blanch leaves (boil 2 minutes, then plunge into ice water), drain well, and freeze in labeled bags. Frozen kale keeps for up to 12 months and works great in soups and smoothies.
- Dehydrating: Kale chips are a popular way to preserve extra harvest — toss leaves with a little oil and salt, then dehydrate or bake at low heat until crisp.


