
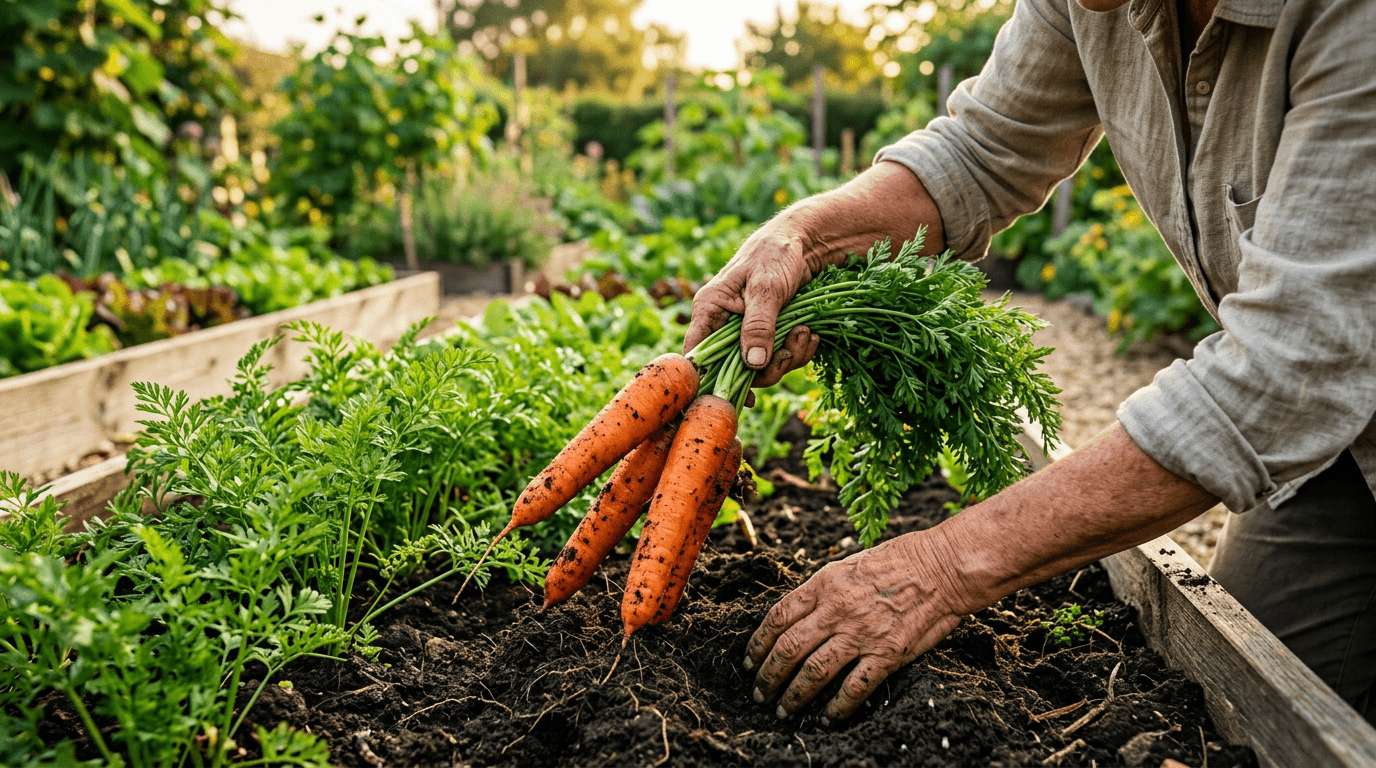
Pulling a fresh carrot from the ground — still warm from the sun, soil clinging to its roots — is one of gardening’s simple pleasures. And the good news? Carrots are easier to grow than most people think, as long as you give them one thing: loose, deep soil.
This guide covers everything you need to grow sweet, crisp carrots from seed to harvest, whether you’re planting in a raised bed, a traditional garden plot, or a deep container.
Choose the Right Carrot Variety
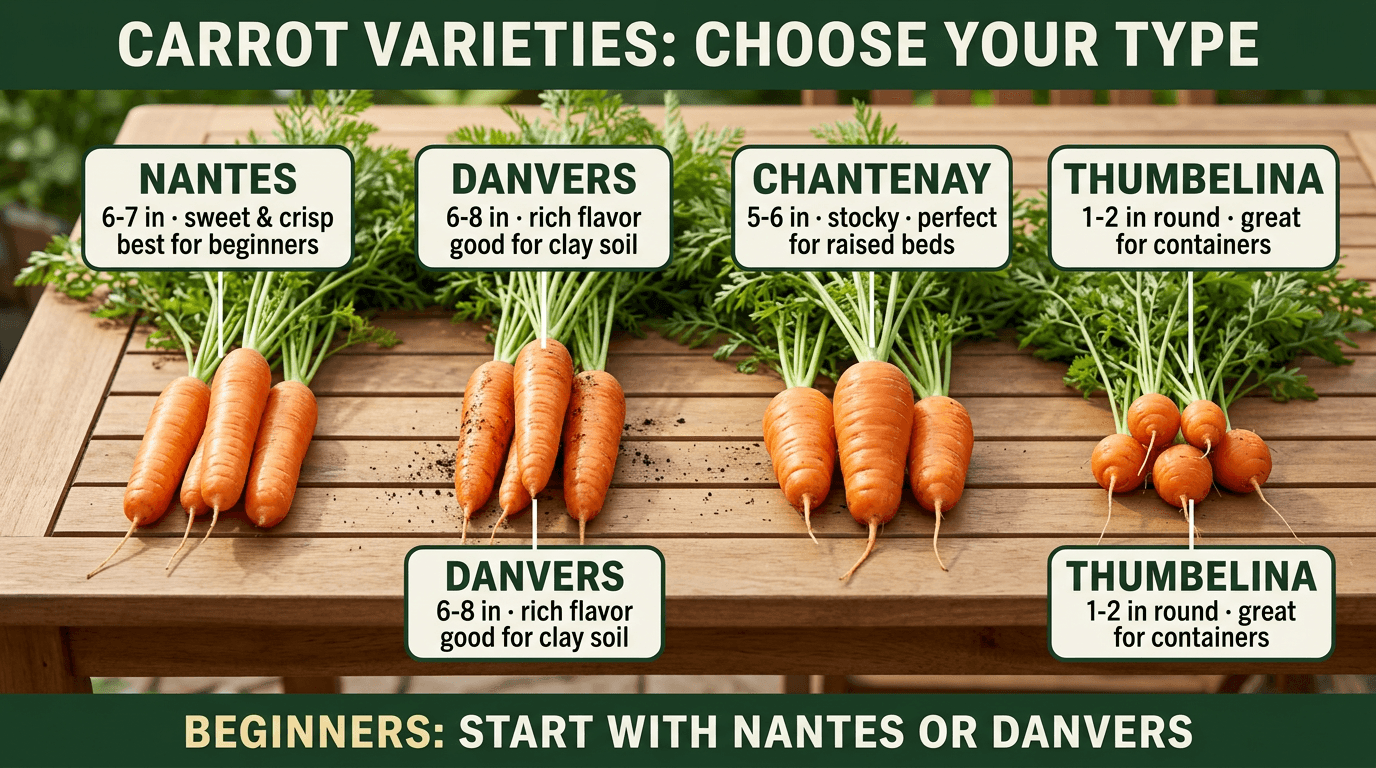
The variety you choose determines the shape, flavor, and how well your carrots perform in your soil. Here’s a quick breakdown of the most popular types:
Nantes — The most popular home garden carrot. Cylindrical with a blunt tip, about 6–7 inches long. Sweet, crisp, and nearly coreless. Grows well in most soil types. A great choice for beginners.
Danvers — A classic American variety. Tapered shape, 6–8 inches long. Tolerates heavier clay soils better than other types. Rich, full flavor that stores well through winter.
Chantenay — Short and stocky, 5–6 inches long with a wide shoulder. Excellent for clay soil or shallow raised beds where there isn’t room for long roots. Sweet and tender.
Imperator — The long, tapered carrots you see in grocery stores — up to 10 inches long. They need deep, loose, sandy soil to grow straight. More challenging but very rewarding for experienced growers.
Mini / Thumbelina — Round, golf ball-sized carrots. Perfect for containers or rocky, shallow soil. Fun for grandkids to pull from pots on the patio.
Best bet for most home gardeners: Start with Nantes or Danvers. They forgive imperfect soil and deliver consistently great flavor with minimal fuss.
Prepare the Soil — The Most Important Step
Here’s the truth about carrots: the variety matters less than the soil. Rocky, compacted, or clay-heavy soil causes forked, stubby, and misshapen carrots. The root pushes downward, and when it hits resistance, it bends, splits, or stops growing entirely.
Before planting, loosen your soil:
- Dig or till at least 12 inches deep for Nantes, Chantenay, or Danvers varieties
- Go 15 inches deep for Imperator types
- Remove every rock, clump, and root you find
- Work in 2–3 inches of compost to improve drainage and add nutrients
- Avoid fresh manure — it causes forking and introduces pathogens
Raised beds are ideal for carrots. If your native soil is heavy clay or rocky, a raised bed filled with loose, sandy loam is the easiest path to beautiful, straight carrots. Aim for at least 12 inches of bed depth.
Target a soil pH of 6.0–6.8. A simple pH test kit from your garden center will tell you where you stand. Slightly acidic soil gives carrots the nutrient availability they need to thrive.
When to Plant Carrots
Carrots are a cool-season crop. They grow best when soil temperatures sit between 50°F and 75°F, which means two planting windows in most USDA zones:
- Spring planting: Sow seeds 2–4 weeks before your last frost date, as soon as you can work the soil
- Fall planting: Sow seeds 10–12 weeks before your first fall frost — fall carrots are often sweeter than spring ones
Carrot seeds germinate at soil temperatures as low as 45°F, though 60–70°F is ideal for fast, even sprouting. Fall carrots develop extra sweetness as cool temperatures trigger the plant to convert starches into sugar — many gardeners say fall-harvested carrots taste like candy.
Not sure of your frost dates? Check the Find Your Zone guide to look up your USDA hardiness zone and frost dates. For exact zone-by-zone planting windows, see the full When to Plant Carrots guide.
How to Sow Carrot Seeds
Carrot seeds are tiny — roughly the size of a period at the end of this sentence. That makes direct sowing a little fiddly, but manageable with the right approach.
Sowing steps:
- Create shallow furrows about ¼ inch deep, spacing rows 12 inches apart
- Sprinkle seeds thinly — aim for one seed every ½ inch along the row
- Cover lightly with fine vermiculite or sifted compost (avoid heavy soil that can crust over and block seedlings)
- Water gently with a fine mist or gentle spray — never a strong stream that washes seeds away
- Keep the soil surface consistently moist until germination (7–21 days depending on soil temperature)
Gardener’s trick: Mix carrot seeds with radish seeds before sowing. Radishes germinate in 3–5 days, mark the row clearly, and loosen the soil as they grow — making it easier for slow-germinating carrots to push through. Harvest the radishes before they compete with the carrots, usually within 4 weeks.
Important: Do not start carrots indoors. They develop a long taproot immediately and don’t transplant successfully. Carrots are always direct-sown in the garden.
Thinning — The Step You Can’t Skip
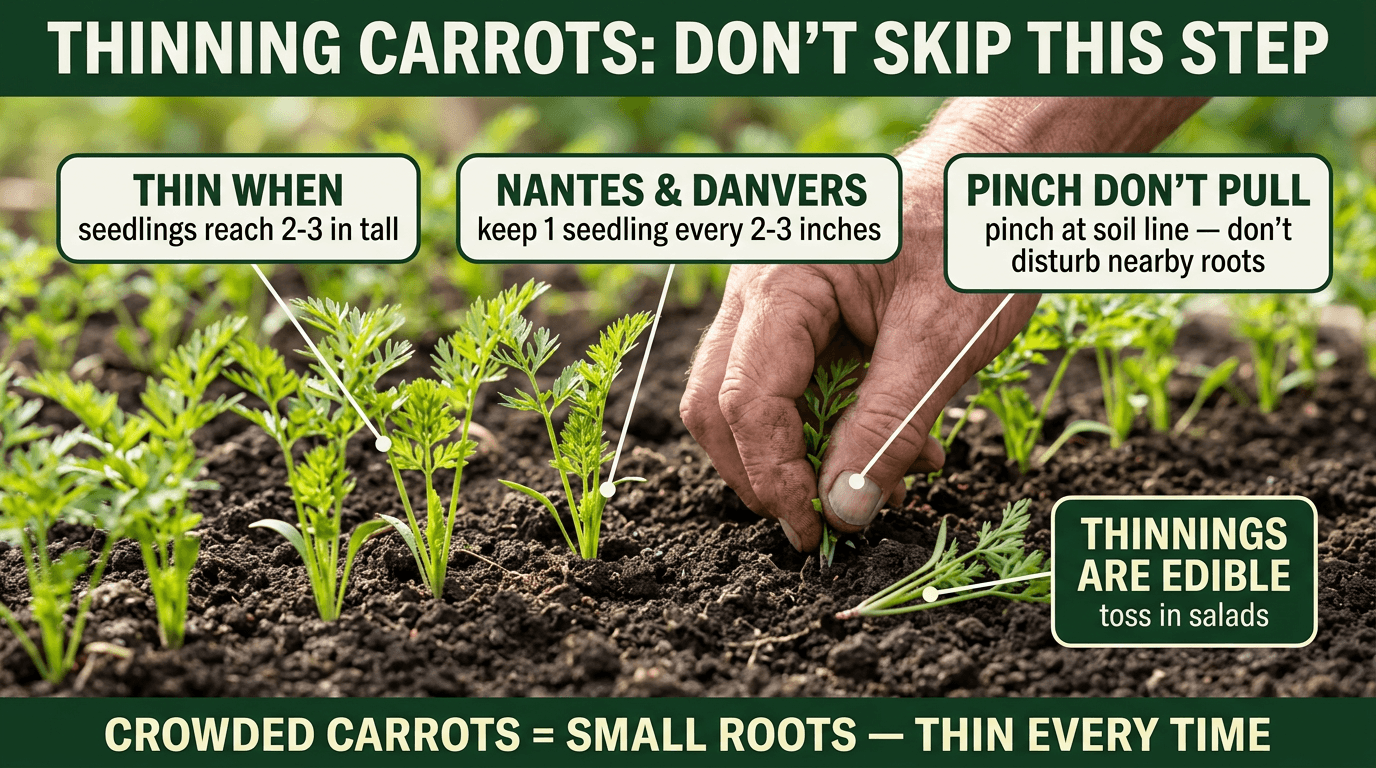
If there’s one mistake that costs beginners a harvest, it’s skipping the thinning step. Crowded carrots produce spindly, forked, stunted roots — no matter how good your soil is.
Thinning means removing seedlings so the remaining ones have enough space to develop full-sized roots. It feels wasteful, but it’s essential.
When to thin: When seedlings reach 2–3 inches tall, about 2–3 weeks after germination.
How to thin by variety:
- Nantes, Chantenay, Danvers: leave one seedling every 2–3 inches
- Imperator: leave one seedling every 3–4 inches
- Mini / Thumbelina: leave one seedling every 1 inch
How to thin without disturbing neighbors: Pinch seedlings off at the soil line rather than pulling them. Pulling can disturb the roots of nearby seedlings you want to keep. The tiny seedlings you remove are delicious — snip them into salads for a mild carrot flavor.
Watering Carrots
Carrots need consistent moisture — not frequent light sprinkles, but deep, even watering that penetrates several inches into the soil.
- Water deeply 1–2 times per week rather than a little every day
- Aim for about 1 inch of water per week (rain plus irrigation combined)
- Uneven watering — dry spells followed by heavy rain or irrigation — causes carrots to crack and split
- A 2–3 inch layer of straw mulch over the bed regulates moisture, suppresses weeds, and keeps soil cool
Once carrot tops are established and 6 inches tall, ease up on watering slightly. Too much moisture late in the season pushes energy into lush green tops at the expense of root growth.
Fertilizing Carrots
Carrots are light feeders. Over-fertilizing — especially with high-nitrogen fertilizers — produces spectacular green tops and disappointing small roots.
- Work a balanced granular fertilizer (5-10-10 or 10-20-20) into the soil before planting
- Side-dress with a low-nitrogen fertilizer when plants are 6 inches tall if soil is poor
- Avoid high-nitrogen fertilizers (like those marketed for lawns or leafy greens) during the growing season
If you amended your soil with quality compost before planting, you may not need additional fertilizer at all.
Common Carrot Problems
Forked or misshapen roots — Almost always caused by rocky or compacted soil, or fresh manure. Improve soil preparation before the next planting.
Cracking — Caused by uneven watering. Consistent moisture and mulch prevent most cracking. Harvest promptly when carrots reach maturity.
Green shoulders — The top inch of the carrot turns green and bitter when exposed to sunlight. Hill up soil around the base of the carrot tops to keep them covered, or add mulch.
Carrot rust fly — The most common carrot pest. The fly lays eggs near carrot tops; larvae tunnel into roots, leaving rusty brown streaks. Cover your carrot bed with floating row cover immediately after sowing to prevent egg-laying.
Slow germination — Patience is required. Carrot seeds can take 7–21 days to germinate. Keep the soil consistently moist and don’t give up too soon. Cold soil below 50°F dramatically slows germination.
Leaf blight — Brown, spotted leaves that spread in wet weather. Avoid overhead watering; water at the base of plants instead.
Harvesting Carrots
Most carrot varieties are ready to harvest 60–80 days after sowing. Check your seed packet for the specific “days to maturity” for the variety you planted.
How to know they’re ready:
- Brush aside the soil at the top of a carrot to check the diameter: Nantes are ready at ¾ inch wide; Danvers and Imperator at about 1 inch wide
- Color is a reliable indicator — deep, saturated orange means the carrot is mature
- The carrot shoulder (the very top, just below the green tops) should be visible at or just above soil level
How to harvest without breaking: Water the bed the day before you plan to harvest to soften the soil. Grasp the carrot at the base of its green tops and pull gently, rocking slightly side to side. In clay or firm soil, loosen the area with a garden fork first, inserting it a few inches away from the carrot to avoid spearing the root.
Fall sweetness tip: If you planted a fall crop, leave carrots in the ground through the first light frost (around 28–32°F). A few nights of cold temperatures trigger the plant to convert starches into natural sugars, making fall carrots noticeably sweeter than their spring counterparts. Many gardeners say these are the best carrots of the year.
Storing Your Harvest
With proper storage, carrots from your garden can last for months.
First step: Twist off or cut the green tops within an inch of the root immediately after harvest. Carrot tops actively pull moisture from the root, causing them to go limp and soft quickly.
- Refrigerator: Store unwashed carrots in a sealed bag or airtight container. They keep well for 2–4 weeks. Wash just before using.
- Root cellar or cool basement: Pack unwashed carrots in layers of damp sand or sawdust in a wooden box or crate. Keep at 32–38°F with high humidity. Properly stored, carrots last 4–6 months.
- Freezer: Blanch carrots (boil 2–3 minutes, then immediately plunge into ice water), drain, dry, and freeze in labeled bags. Frozen carrots keep for up to 12 months and work beautifully in soups and stews.


