
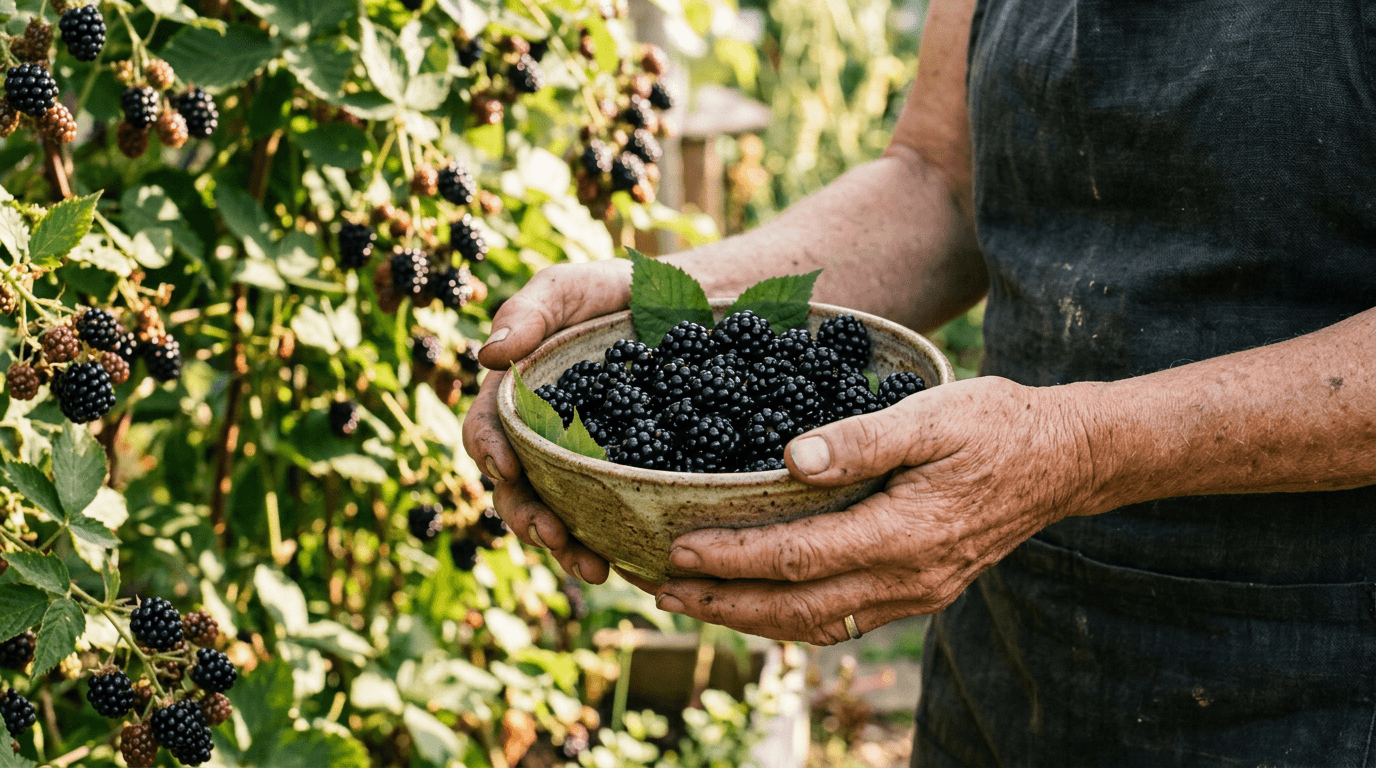
Blackberries are often called the easiest bramble fruit to grow — vigorous, productive, and largely untroubled by the pests and diseases that plague other fruit crops. Once established, a small row can produce gallons of berries every summer for well over a decade.
Like raspberries, blackberries grow on a two-year cane cycle and benefit from support, but the details differ enough to matter. Here’s what you need to know.
Choose the Right Blackberry Type
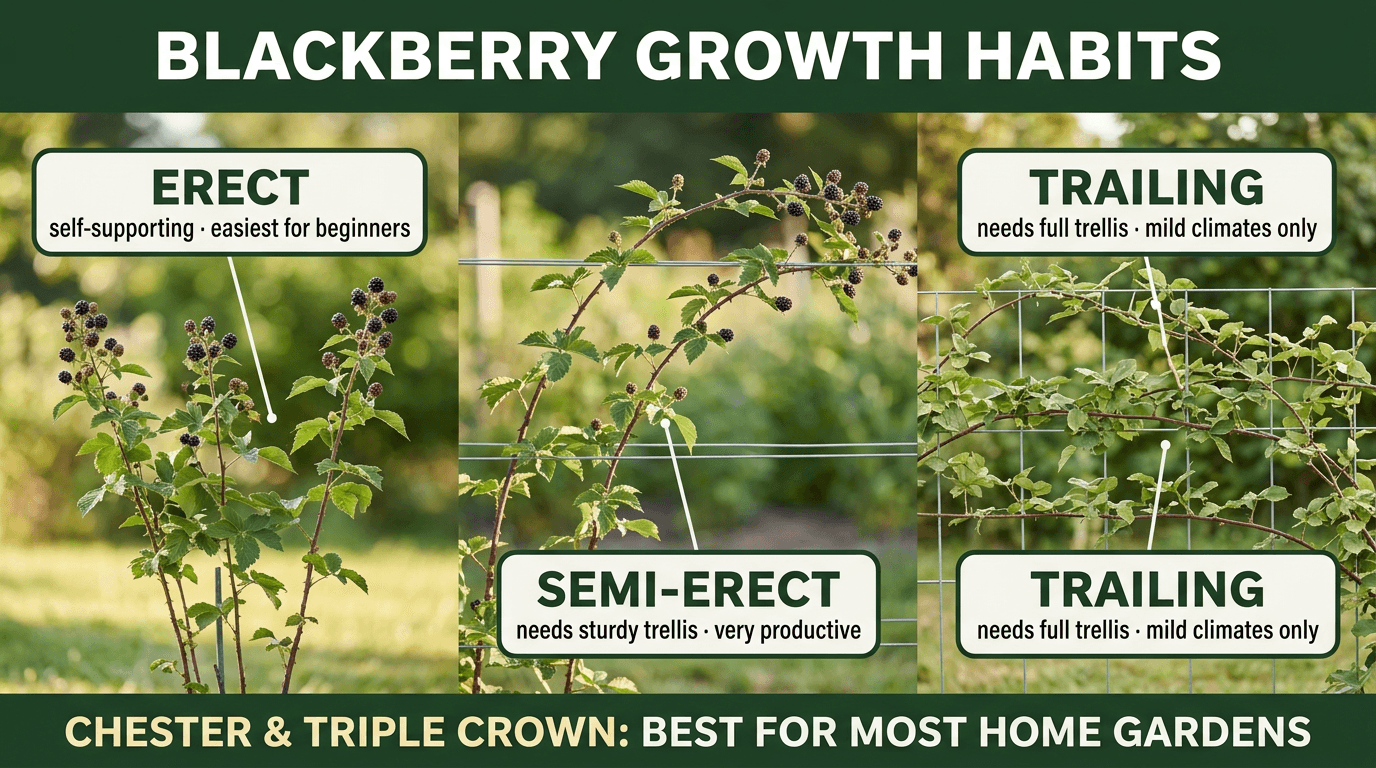
Blackberries come in three growth habits, and the one you choose determines how much support and space you’ll need.
Erect (upright) varieties — Stiff, self-supporting canes that need minimal trellising. The easiest type for most home gardeners. Varieties: Navaho and Apache (thornless), Kiowa (thorny, very large fruit).
Semi-erect varieties — Vigorous, arching canes that need a sturdy trellis but produce heavily and are typically very cold-hardy. Varieties: Chester and Triple Crown, both thornless and among the most popular home garden choices.
Trailing varieties — Long, flexible canes that sprawl along the ground unless trained onto a trellis; require the most support. Best suited to milder climates (Zones 7–9). Varieties: Marion (marionberry), Boysenberry.
Thorny vs. thornless: Thornless varieties are far easier to work with — pruning and harvesting without constant scratches is a real advantage for most home gardeners, with little difference in flavor or productivity.
Best bet for most home gardeners: Chester or Triple Crown — thornless, semi-erect, cold-hardy, and consistently productive.
When to Plant Blackberries
- Bare-root canes: Plant in early spring, 2–4 weeks before your last frost date, as soon as the soil can be worked
- Potted plants: Can be planted anytime from spring through early fall
- Most erect and semi-erect varieties are hardy in USDA Zones 5–9; trailing varieties are generally best in Zones 7–9
Not sure of your zone or frost dates? Check the Find Your Zone guide.
Preparing the Soil and Site
- Choose a spot with full sun — at least 6 hours of direct sunlight for the best fruit production
- Blackberries tolerate a wider soil pH range than raspberries, ideally between 5.5 and 7.0
- Work 2–3 inches of compost into the soil before planting to improve drainage and fertility
- Ensure good drainage — while more forgiving than raspberries, blackberries still dislike waterlogged soil
- Avoid planting where wild brambles, tomatoes, peppers, or eggplants have grown recently, since these can carry shared soil-borne diseases
Setting Up Support
How much support you need depends on the type you’re growing:
- Erect varieties: Can often be grown without a trellis, though a simple single wire at 3 feet high helps keep canes tidy and fruit off the ground
- Semi-erect and trailing varieties: Need a sturdy two-wire trellis system — set posts at each end of the row (and every 10–15 feet for longer rows), with wires at about 3 feet and 5–6 feet high, and train canes along the wires
Install trellising at planting time, before canes get long and difficult to manage.
Planting Blackberries
- Soak bare-root canes in water for 1–2 hours before planting
- Dig a hole wide enough to spread roots out fully, planting at the same depth the cane was growing in the nursery
- Space erect varieties 3–4 feet apart; space semi-erect and trailing varieties 5–8 feet apart, since they spread more vigorously
- Space rows 8–10 feet apart to allow room for maintenance and harvesting
- Backfill, firm gently, and water thoroughly
- Cut canes back to about 6 inches after planting to direct the plant’s energy into root establishment
Watering and Mulching
- Water deeply 1–2 times per week, about 1–1.5 inches weekly, increasing during fruit development and dry spells
- Apply 3–4 inches of mulch around plants to conserve moisture, suppress weeds, and moderate soil temperature
- Water at the base rather than overhead to reduce fungal disease risk
Fertilizing Blackberries
- Apply a balanced fertilizer (10-10-10) or compost in early spring as new growth begins
- A light second feeding after harvest supports the new canes that will bear fruit next year
- Avoid excess nitrogen, which produces excessive leafy growth at the expense of fruit
Pruning Blackberries
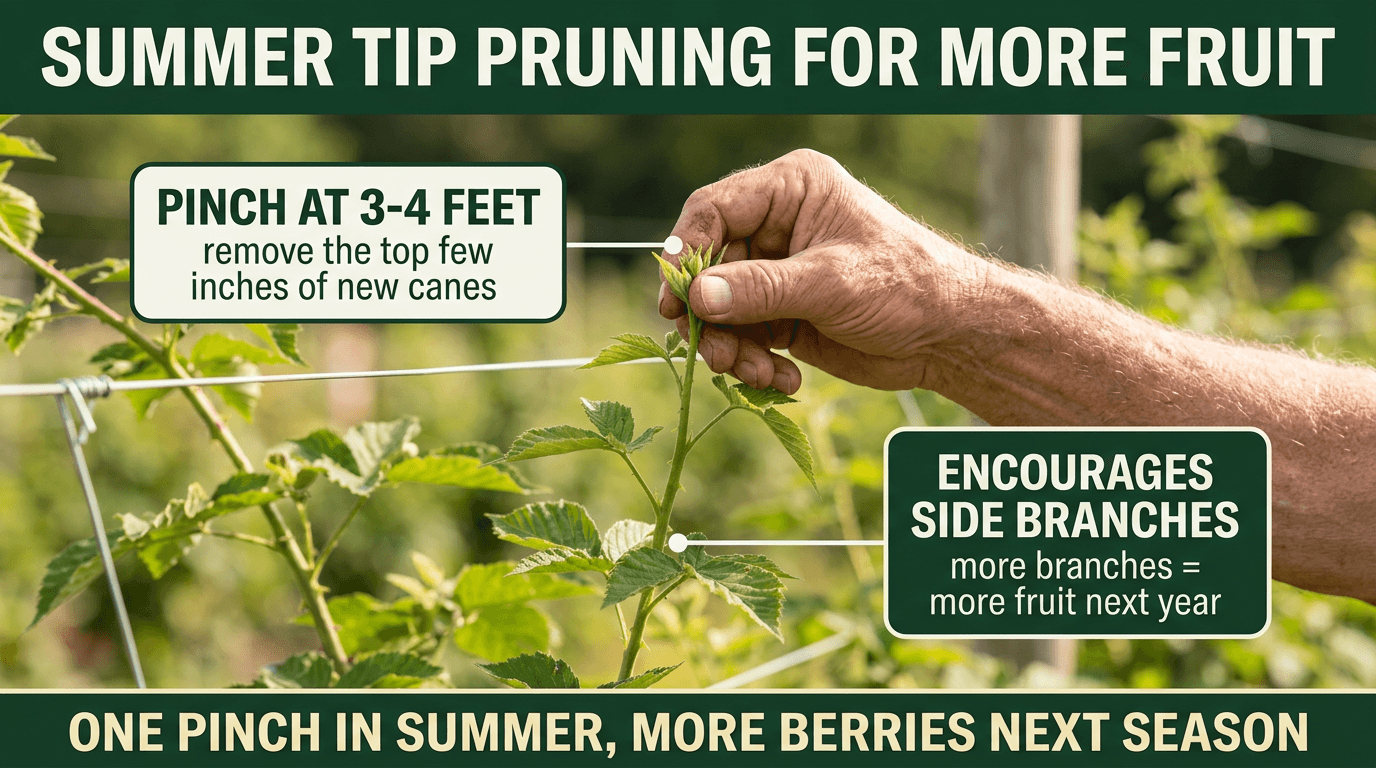
Like raspberries, blackberry canes are biennial — each cane grows one year, fruits the next, then dies. But blackberries add one extra step: tip pruning during the summer, which significantly boosts next year’s harvest.
Summer tip pruning (erect and semi-erect types): When new canes reach about 3–4 feet tall during the summer, pinch or cut off the top few inches. This encourages the cane to branch out laterally — and since fruit forms along those side branches, more branching means more fruit next season.
After harvest: Cut the canes that just fruited (floricanes) down to the ground — they’ve finished their lifecycle and won’t fruit again. This also improves airflow and reduces disease pressure.
Late winter: Thin remaining canes to the strongest 4–6 per plant (erect types) or per few feet of trellis (trailing types), removing thin, weak, or damaged canes. For trailing varieties, this is also when side branches are typically shortened to about 12–18 inches.
Common Blackberry Problems
Orange rust — A serious, incurable fungal disease causing bright orange, powdery spore masses on the undersides of leaves in spring. Infected plants must be dug up and destroyed entirely — there’s no treatment. Buying certified disease-free plants is the best prevention.
Spotted wing drosophila (SWD) — A fruit fly that lays eggs in ripening berries, unlike most fruit flies that only target overripe fruit. Harvest promptly as berries ripen and remove any fallen or overripe fruit from the ground to reduce breeding sites.
Cane borers and cane blight — Similar to raspberries: borers cause wilting cane tips (prune out affected sections), while cane blight causes cankers and dieback (remove and destroy infected canes, improve airflow through proper pruning).
Japanese beetles — Metallic green-and-bronze beetles that skeletonize leaves. Handpick in the early morning when beetles are sluggish, or use traps placed well away from the berry patch.
Harvesting Blackberries
Newly planted blackberries typically need a full year to establish, with a meaningful first harvest arriving in year two.
- When they’re ready: Berries should be fully black with no red remaining, plump, and slightly soft to the touch
- The key difference from raspberries: A ripe blackberry keeps its white core attached when picked — unlike a raspberry, which pulls away hollow. Don’t rely on color alone; give the berry a gentle tug and check that it comes away easily but keeps its core
- Check plants every 1–2 days during peak season, since ripe berries don’t hold well on the cane and are highly attractive to birds and SWD
- Harvest in the cool morning hours for the firmest, best-tasting fruit
Storing Your Harvest
- Refrigerator: Store unwashed in a single layer in a shallow, ventilated container. Keeps for about 5–7 days — slightly longer than raspberries thanks to their sturdier structure.
- Freezer: Spread unwashed berries in a single layer on a baking sheet, freeze until solid, then transfer to a labeled freezer bag. Frozen blackberries keep for up to 12 months.
- Jam and preserves: Blackberries are excellent for jam, jelly, and pie filling — a great way to use a large harvest before it spoils.
